BG3: Get the Blood of Lathander Fast (Skip the Hunt)
How to get the Blood of Lathander legendary mace fast in Baldur's Gate 3 — skip the ceremonial weapons hunt, solve the Rosymorn statue puzzle, and use the Dawnmaster's Crest.
Quick Answer
You don't need the ceremonial weapons to get the Blood of Lathander. At Rosymorn Monastery, place any war hammer, battle axe, and mace on the four pedestals to open the hidden wall and claim the Dawnmaster's Crest (pick your weapons back up — they aren't consumed). In the Inquisitor's Chamber, turn the two sun statues so the left faces west and the right faces east (use Grease to free the stuck one), then clear the three energy crystals past the secret chamber's traps. Finally, place the Dawnmaster's Crest in the pedestal slot to drop the barrier and take the mace safely — grabbing it first starts a fight.
Jump to a moment 8 chapters
The Blood of Lathander is one of the best legendary maces in Baldur’s Gate 3 — and you can skip the tedious ceremonial weapons hunt entirely. Here’s the fast route.
Short Answer
You don’t need the ceremonial weapons. At Rosymorn Monastery, place any war hammer, battle axe, and mace on the four pedestals to open the hidden wall and claim the Dawnmaster’s Crest (pick your weapons back up — they aren’t consumed). In the Inquisitor’s Chamber, turn the two sun statues so the left faces west and the right faces east (use Grease to free the stuck one), then clear the three energy crystals past the secret chamber’s traps. Finally, place the Dawnmaster’s Crest in the pedestal slot to drop the barrier and take the mace — grabbing it first starts a fight.
Key Takeaways
- Skip the ceremonial weapons — any war hammer + battle axe + mace works on the pedestals.
- The pedestals open a hidden wall holding the Dawnmaster’s Crest; reclaim your weapons afterward.
- In the Inquisitor’s Chamber, set the left statue facing west, the right facing east.
- The left statue is stuck — free it with the Grease spell or a grease bottle (don’t smash it).
- Destroy 3 energy crystals to drop the barriers; avoid the pulse traps (don’t disarm — walk around).
- Insert the Dawnmaster’s Crest at the mace’s pedestal before touching it, or you trigger combat.
How Do You Reach Rosymorn Monastery and Get the Crest?
Enter through the Mountain Pass, then place three weapon types on the pedestals. Travel to the Mountain Pass and make your way to the Rosymorn Monastery waypoint. Head north toward the main building, but instead of the main door, go left and jump through the broken stained-glass window into the room of wine barrels and Kobolds. Clear or bypass them, climb the roots at the back to the second floor, break the barrier, and follow the hall to the large circular room with a floor mural and four pedestals.
The game asks for ceremonial weapons, but any weapons work as long as you place a war hammer, a battle axe, and a mace. Drag or throw them onto the pedestals (e.g. war hammer top-right, battle axe left, mace bottom-right). When the last one lands, a hidden wall opens revealing a pouch with the Dawnmaster’s Crest — take it and read the note to update the quest. Pick your weapons back up — they aren’t consumed.
How Do You Solve the Rosymorn Statue Puzzle?
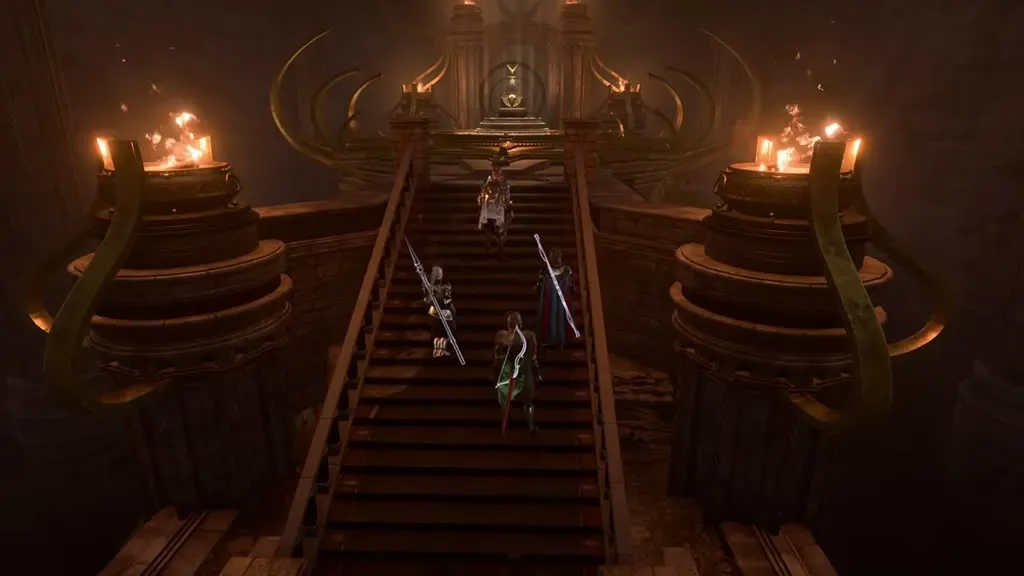
Turn both sun statues to face outward — left west, right east — using Grease to free the stuck one. Head toward the Inquisitor’s Chamber: break the barrier, go through the oak door, follow the green-overgrown path down the staircases to the monastery basement, then unlock the Captain’s Quarters door (talk to or kill a captain for the stone) to reach the chamber.
On the west side, two large statues hold sun icons. The left statue is stuck — pass an Athletics check, or simpler, throw a bottle of grease or cast the Grease spell to loosen it (don’t hit it; you might break it). Set the left statue facing west (away from the room) and the right statue facing east (toward the entrance). The wall between them slides open to reveal the secret chamber stairs.
How Do You Take the Mace Safely?
Clear the three energy crystals, then insert the Dawnmaster’s Crest before touching the mace. Past the hidden door are three energy barriers, each held by a crystal you destroy with a bow or Magic Missile:
- First crystal — straight ahead.
- Second — past a pulse trap; don’t disarm it, jump/walk around the left onto the rocks, then shoot the crystal stuck behind a stone pillar.
- Third — on the right side of the cliff; shoot it to drop the last barrier.
The traps stay active, so wait for the pulse to pass before crossing. At the Blood of Lathander, click the control panel/slot on the pedestal and place the Dawnmaster’s Crest — the protective light vanishes and you can take the mace safely. Grab it without the crest and you start combat against the crystals.
FAQ
Do you need the ceremonial weapons for the Blood of Lathander?
No. Any war hammer, battle axe, and mace placed on the Rosymorn pedestals will open the hidden wall and grant the Dawnmaster’s Crest — you can skip the ceremonial weapons hunt.
Are the weapons consumed on the pedestals?
No — pick them back up after the wall opens. They’re returned intact, so you can sell or keep them.
How do you free the stuck Rosymorn statue?
Pass an Athletics check, or use the Grease spell / a grease bottle to loosen it. Avoid hitting it, since you can break the statue.
Which way do the Rosymorn statues face?
The left statue faces west (away from the room) and the right statue faces east (toward the entrance). Then the wall opens.
How do you take the Blood of Lathander without fighting?
Insert the Dawnmaster’s Crest into the pedestal slot first to drop the light barrier. If you grab the mace before placing the crest, the surrounding crystals trigger combat.
Related Guides
- How to Solve the Faith-Leap Trial (Gauntlet of Shar) — another puzzle gating a powerful reward.
- Adamantine Forge Guide: All 6 Moulds, Mithral & Grym — more best-in-slot Act 1 gear.
Sources
- GET the Blood of Lathander FAST (Skip Ceremonial Weapons Hunt) — original video walkthrough by Fusion Thunder.

Fusion Thunder
Founder & EditorI'm Fusion Thunder, the founder of Beyond Max Level. I'm a lifelong gamer and content creator who doesn't just play games — I like to push them to their absolute limits. This site is the written extension of my YouTube channel, @BeyondMaxLevel, where I break down the open-world epics and big RPGs worth going deep on into clear, no-fluff guides you can actually follow.
Related Guides
 Guide
Guide BG3: Get Shadowheart to Spare the Nightsong (No Roll)
How to get Shadowheart to spare the Nightsong in Baldur's Gate 3 with no dice roll — the Trust mechanic, prerequisites, exact dialogue, and Selûne's Spear reward.
 Guide
Guide BG3: How to Free Shadowheart from the Nautiloid Pod
How to free Shadowheart on the Nautiloid in Baldur's Gate 3 — find the Eldritch Rune, use the console (DC 10 Illithid check), or skip it with Barbarian, Wizard, or Warlock.
 Guide
Guide BG3: Kill Commander Zhalk & Get the Everburn Blade
How to kill Commander Zhalk and get the Everburn Blade in Baldur's Gate 3 Honor Mode — the Command: Drop disarm, chest blockade, and 4-Nautiloid-tank explosion.